
The most common first-night complaint isn't a broken telescope. It's a new owner who set up in the dark, pointed it straight at a star, and saw a blurry smudge instead of the crisp view the box photos promised. Almost every case has the same fix, and it starts hours before you ever look through the eyepiece.
Step 1: Assemble in daylight, not in the dark
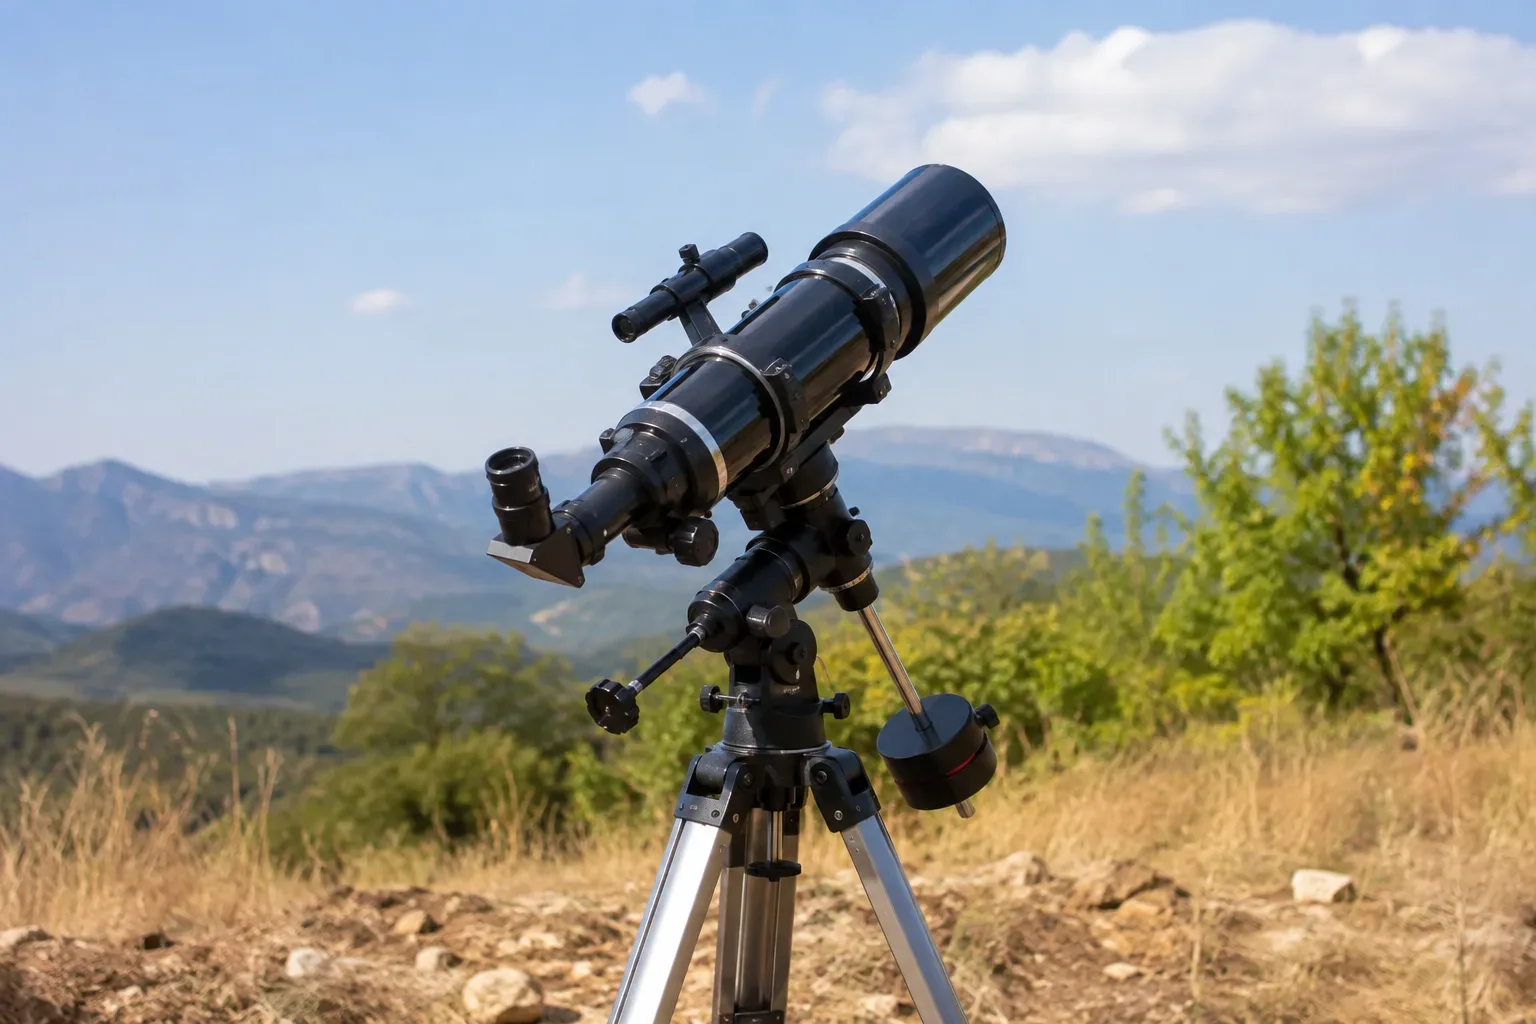
Attach the tube to the mount and tripod following the manual, ideally indoors or in daylight rather than by headlamp after dark. Fumbling with screws and clamps for the first time at night adds frustration to a process that's straightforward with good light.
Step 2: Align the finder while you can still see
Point the main telescope tube at a distant landmark, like a chimney or a treetop at least a quarter mile away, and center it precisely in the main eyepiece. Then adjust the small finder scope or red-dot sight's screws until it centers on that exact same point. Doing this at night, on a star that's constantly moving as the sky rotates, is far harder than doing it once in daylight on a target that holds still.
Step 3: Let the telescope cool down before judging it
This is the step almost every frustrated new owner skips, and it explains more blurry first nights than any other single cause. A telescope carried from a warm house into cold night air still has warm glass and mirrors inside, and that mismatch creates turbulent air currents inside the tube itself. On a telescope with roughly a 1-meter focal length, even a 0.1°C temperature difference along the tube is enough to visibly soften the image. Those currents only settle once the optics and the outside air are within about 0.5°C of each other.
In practice: a small or medium telescope needs roughly 30 minutes outside before it performs at its best, while a larger one can take hours. Refractors typically reach equilibrium in 30-60 minutes; larger reflectors often need 60-90 minutes. If your telescope looks blurry the moment you bring it outside, that's expected, give it the time first.
Step 4: Focus on something bright
Start with the Moon or a bright planet rather than a faint star. Turn the focuser slowly in one direction; if the image gets worse, reverse. It should sharpen into a clear, if still imperfect, view once you're near correct focus and the telescope has finished cooling.
Table: your first-use checklist
| Step | What to do | Common mistake to avoid |
|---|---|---|
| 1. Assemble in daylight | Attach the tube to the mount and tripod indoors or in daylight, following the manual | Assembling for the first time in the dark, by headlamp |
| 2. Align the finder | Point the main tube at a distant landmark and adjust the finder's screws until it centers on the same spot | Trying to align the finder at night on a moving star |
| 3. Let the telescope cool | Set the telescope outside 30-90 minutes before observing, depending on size | Observing immediately after bringing it outside |
| 4. Focus on a bright target | Start with the Moon or a bright planet and turn the focuser slowly until the image sharpens | Assuming the view is supposed to look sharp instantly |
Why isn't my image sharp? A quick diagnosis
Blurry views trace back to one of five causes: focus, atmospheric turbulence, thermal acclimation, optical alignment, or a shaky mount. Use this table to narrow it down before assuming something is wrong with the telescope itself.
| Symptom | Likely cause | Fix |
|---|---|---|
| Everything looks blurry no matter what I do | Telescope hasn't finished cooling down | Wait the full cooldown time for your telescope's size before judging sharpness |
| Image shimmers or wobbles like heat haze | Atmospheric turbulence (seeing), not the telescope | Try again on a calmer night, or aim higher above the horizon |
| Can't find anything through the eyepiece | Finder not aligned with the main tube | Re-align the finder in daylight on a distant landmark |
| Image looks doubled or a star looks like a fuzzy blob (Newtonian/Dobsonian) | Mirrors out of collimation | See our telescope maintenance guide for the collimation procedure |
What to observe first
The Moon is the standard first target: bright, easy to find, and full of visible detail even at low magnification. Once you're comfortable finding and focusing on it, our Moon observing guide covers which phase shows the most detail and whether a filter helps. For planets and deep-sky objects, see our beginner's guide to viewing planets and galaxies.
Where and when to observe
A dark sky away from bright streetlights makes a bigger difference than any equipment upgrade, especially for faint deep-sky targets. Clear, calm nights beat clear windy ones, wind shakes the tube and blurs the view just as much as bad optical alignment does. None of this requires special timing beyond checking a basic weather and Moon-phase forecast before heading out.
FAQ
How do I set up a telescope for the first time?
Assemble it in daylight, align the finder scope on a distant landmark while you can still see clearly, then let it cool down outside before judging the view.
Why does my new telescope look blurry?
Most often because it hasn't finished cooling down to the outside temperature, a telescope carried from a warm house needs time to stop generating internal air currents.
How long does a telescope need to cool down?
Roughly 30 minutes for a small or medium telescope, up to 60-90 minutes for a larger reflector.
What should I look at first with a new telescope?
The Moon. It's bright, easy to find, and shows real detail even before you've fully learned to use the telescope.
Do I need to align the finder scope every time I use the telescope?
No, but check it occasionally, transport and handling can knock it slightly out of alignment over time.
Sources
- [S001] BBC Sky at Night Magazine : Why you need to let your telescope cool down, and how to do it
- [S002] Telescopeadvisor.com : Why Is My Telescope Blurry? 12 Fixes That Actually Work
- [S003] Telescope Boss : Why Do I Need My Scope to Cool Down?