Astrophotography is a different hobby from visual observing, even though the two often start with the same interest. Where visual observing is about what your eye can see in real time through an eyepiece, astrophotography lets a camera sensor accumulate light over seconds or minutes, revealing color and detail no human eye can pick out directly. This guide covers the three realistic starting points, what they cost, and which targets are achievable right away.
Visual observing vs. astrophotography
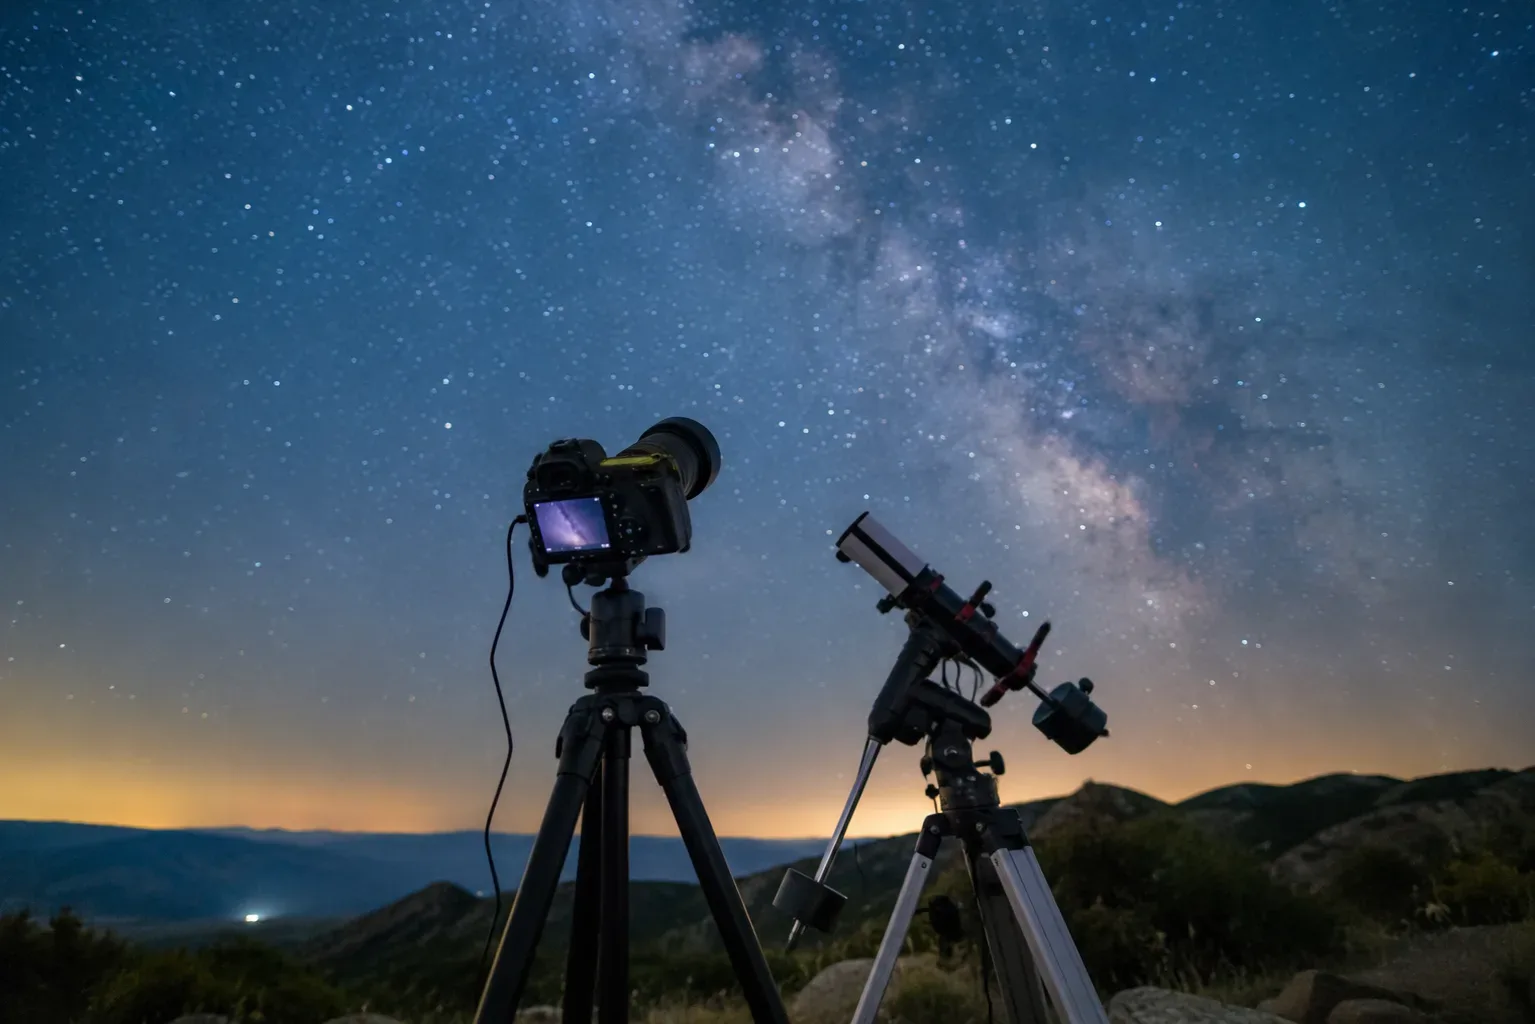
Your eye at the eyepiece sees a real-time, relatively dim view limited by how much light your pupil can gather in an instant. A camera doesn't have that limit, a 20-second exposure gathers 20 seconds' worth of photons instead of a fraction of a second, which is why astrophotos routinely show colors and faint structure that look nothing like what you'd see looking through the same telescope by eye. That difference in expectations trips up a lot of first-timers who expect their photos to look exactly like what they saw visually.
Three ways to start: which one fits you?
| Approach | Typical Budget | Learning Curve | Best For |
|---|---|---|---|
| DSLR/mirrorless + tripod (gear you own) | $0 if already owned | Low | Milky Way, wide-field, testing interest before spending |
| Smart telescope (e.g. Seestar S50) | $499 | Low, no assembly, guided by an app | Deep-sky imaging with minimal setup and no separate parts |
| Telescope + dedicated camera | $1,000+ combined | Higher, separate mount, camera, software | Serious, upgradeable deep-sky and planetary imaging |
A camera you already own. If you have a DSLR or mirrorless camera, that's genuinely a valid starting point, no new purchase required. It's the lowest-commitment way to find out if astrophotography is a hobby you want to invest more in, and it's more than capable of Milky Way shots and wide-field star fields on its own.
A smart telescope. The ZWO Seestar S50 is the clearest example of this category: $499, 2.5 kg, and it packs a 50mm apochromatic optical tube, a dedicated astro camera, a motorized mount, autofocus, and an app-based controller into a single unit with no separate parts to assemble. You point your phone at the app, pick a target, and it does the rest. It won't match a full modular setup in raw image quality, but the barrier to a first usable deep-sky photo is dramatically lower.
A telescope paired with a dedicated camera. This is the traditional, modular route: choose an optical tube built for imaging, a tracking mount, and a camera separately, with the ability to upgrade any single piece later. It's the most capable long-term path and also the one with the steepest learning curve and highest starting cost.
There's no wrong answer here, the right starting point depends on how much you already own, how much setup complexity you want to deal with on night one, and how sure you already are that this is a hobby you'll stick with.
The easiest targets for a first attempt
| Target | Difficulty | Minimum Gear Needed |
|---|---|---|
| Moon | Easiest | Any camera with manual exposure, no dark sky required |
| Milky Way | Easy with the right timing | Camera, wide lens, tripod, Bortle 1-3 sky, near new moon |
| Bright planets (Jupiter, Saturn) | Moderate | Telescope with decent aperture, planetary camera helps |
| Orion Nebula | Moderate to harder | Tracking mount recommended for real detail |
The Moon is the single easiest target to start with, it's bright enough for simple settings, visible most nights, and doesn't require a dark sky at all. The Milky Way is close behind: photographable with nothing more than a camera and tripod, as long as you time it for the May-through-August season and a night near the new moon, from a location dark enough on the Bortle scale. Planets and deep-sky targets like the Orion Nebula take real magnification or accumulated exposure time, which is where a telescope and, eventually, a tracking mount start to matter.
Does light pollution rule out getting started at home?
Not entirely. The Moon and bright planets are bright enough to photograph from almost anywhere, city included. The Milky Way and fainter deep-sky targets are where dark skies actually matter, those are worth planning around a trip to a darker location rather than something you can force from a light-polluted backyard.
Where to go next
If you're leaning toward the smart telescope route, our guides to the Seestar S50 and Seestar S30 cover the specifics. If you already have a camera and want to know whether it's good enough, or when a dedicated camera starts to pay off, see our camera buying guide. If you're building a modular setup, our guide to ZWO's camera and mount lineup and our guide to telescopes built specifically for astrophotography cover the rest of the system.
Frequently asked questions
What is astrophotography, and how is it different from just looking through a telescope? Visual observing shows a real-time view limited by your eye's light-gathering ability. Astrophotography uses a camera to accumulate light over a longer exposure, revealing color and faint detail the eye can't see directly.
Do I need a telescope to start astrophotography? No. A camera with manual settings and a tripod is enough for Milky Way and wide-field shots, and a smart telescope like the Seestar S50 packages everything needed for deep-sky imaging into one unit.
Is a smart telescope a good way to start astrophotography? Yes. Products like the ZWO Seestar S50 combine the optical tube, camera, mount, and controller into one package with app-based guidance, which lowers the barrier to a first usable deep-sky image significantly compared to a modular setup.
What's the easiest first target for beginner astrophotography? The Moon, since it's bright, visible most nights, and doesn't require a dark sky. The Milky Way is a close second with the right timing and location.
Does light pollution stop me from doing astrophotography at all? No, but it does limit what's achievable. The Moon and bright planets work from almost anywhere; the Milky Way and fainter deep-sky targets need genuinely dark skies to look their best.
Sources
- [S001] Astrobackyard : ZWO Seestar S50 In Depth Review
- [S002] Astrobackyard : DSLR vs Dedicated Astronomy Camera for Astrophotography
- [S003] Astrobackyard : Milky Way Photography Calendar